3 Simple Steps to keep all your Photos Avalaible and Shareable in a Dental Practice


Despite existing tons of image / photo softwares out there, sometimes it can be a little confusing which one to choose.
When you talk with someone about this topic, the software that this person is using is always the best:
- "What system are you using to adjust and arrange your photos"- I asked
- "I´m using xxxxx software dude, at it´s amazing. I bet there is nothing better at the market right now. By the way: What are you using?"- He asked me.
- "I´m using Aperture"- I answered.
- "AperWhat?????YOU NERD."
So it´s not easy to have a consensus between the dentists ("dentists" and "consensus" should be avoided in the same sentence) about what is the best software to use in your dental office that make your files available with all the devices that you have at home or in another office.
That´s why I created this post: Share with you how I work and also the material that I use. So let´s start with a short video:
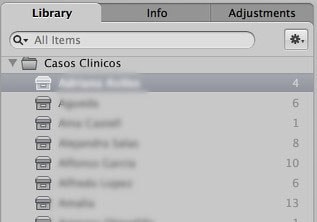
#1 Keep Your Photos Arranged
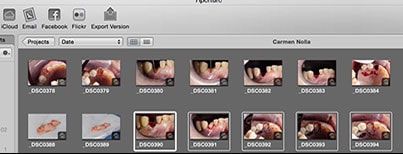
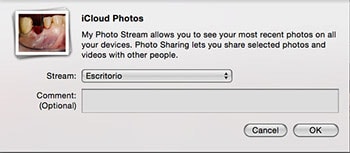
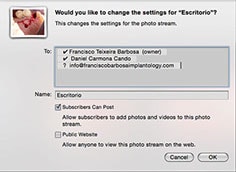
#2 Select, Upload and Share!
 [/one_third] [one_third]
 [/one_third] [one_third_last]
 [/one_third_last]
[one_third]
[/one_third_last]
[one_third]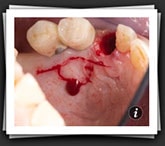 [/one_third] [one_third]
 [/one_third] [one_third_last]
 [/one_third_last]
#3 Connecting All the Devices With Aperture
 [/one_third][two_third_last]
[caption id="attachment_287" align="aligncenter" width="511"]
[/one_third][two_third_last]
[caption id="attachment_287" align="aligncenter" width="511"]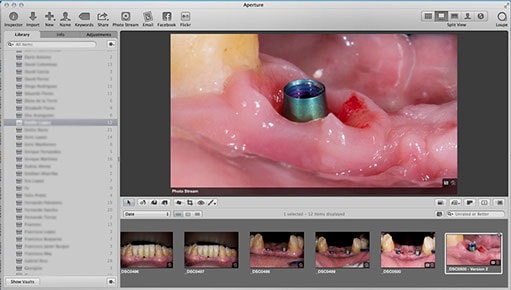 This means that the files are being downloaded from the other device with aperture.[/caption]
[/two_third_last]
This means that the files are being downloaded from the other device with aperture.[/caption]
[/two_third_last]

Final Cut Pro X[/one_half] [one_half_last]
Aperture 3[/one_half_last]
Comments
0 totalLoading comments...
Previous
How to Create an Illustration
Next
Dental Photography Equipment for Dentists: Camera, Lens, Flash
Related Articles
A 6-mm Implant Is Not a Shortcut: What 10 Years of Evidence Actually Show
19 min read
25 years of implant follow-up: 94 percent survived, 14 percent met the health definition
13 min read